How to Create a Sitemap in WordPress Using the Yoast SEO Plugin
A sitemap is like a map of your website. It lists out all the other pages on your site so that users and search engines can navigate your content more easily. There are two types of sitemaps you need: HTML and XML.


If you’ve been fumbling around on Google trying to figure out how to create a sitemap for your new blog, then you’ve come to the right place.
There are several ways to create a sitemap, but for new bloggers, or really anyone who isn’t comfortable dipping into their website’s code, we recommend using the free Yoast SEO plugin.
In this tutorial, we’ll cover what exactly a sitemap is and why you need to create one, how to create a sitemap in WordPress with Yoast, go over the two most common sitemap examples, and show you how to submit a sitemap to search engines.
What is a sitemap?
A sitemap is pretty much what it sounds like: a map of your website.
More specifically, it’s a file or page that lists out all the other pages on your site so that users and/or search engines can navigate your content more easily.
There are two types of sitemaps: HTML and XML.
An HTML sitemap is mostly for humans. It’s just a page on your site that links to every other page on your site. This is especially helpful if your site has a lot of content, such as blog posts published months or years ago. Linking to this content in your sitemap makes it more readily accessible to your visitors.
An XML sitemap, on the other hand, is just for search engines. It also lists out the pages on your website, but in a format that’s specifically designed for search engines. Your XML sitemap can also contain metadata that tells search engines more information on what each page is about (when it was last updated, its importance, etc.).
Essentially, an XML sitemap example helps search engines more intelligently crawl your site.
Both types of sitemaps are important, but today we’re going to focus on how to create an XML sitemap.
Related: How to Make Your First $1,000 Blogging
Do I need a sitemap?
Truth be told, a sitemap isn’t a guarantee that your content will be indexed. It can, however, improve the crawling of your site. And if you’re a beginner blogger, that definitely can’t hurt.
Regardless of where you are in your blogging/online business journey, a sitemap can only help improve your crawlability and, therefore, your search engine rankings.
As Google says, your site will most often benefit from having a sitemap, and will definitely never be penalized for one.[1]
How to Create a Sitemap for Free with the Yoast SEO Plugin
Now that we know what sitemaps do and why they’re important for your website, we’re going to create a Sitemap using our favorite WordPress Sitemap plugin, Yoast.
1. Download the Yoast SEO plugin
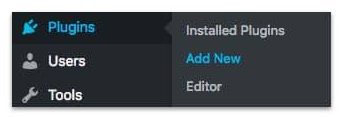
A. From your WordPress Dashboard, navigate to Plugins > Add New.
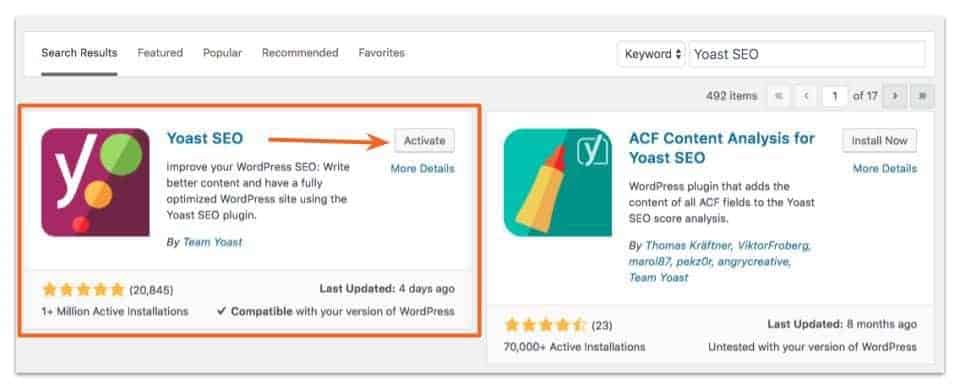
B. In the Search box, type “Yoast SEO.” In the plugin box (left), click Install Now. After the plugin is finished installing, click Activate.
2. Enable sitemaps
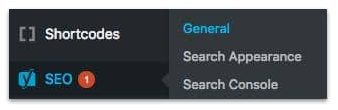
A. On your left navigation menu in your WordPress Dashboard, go to SEO > General.
B. Select the Features tab.
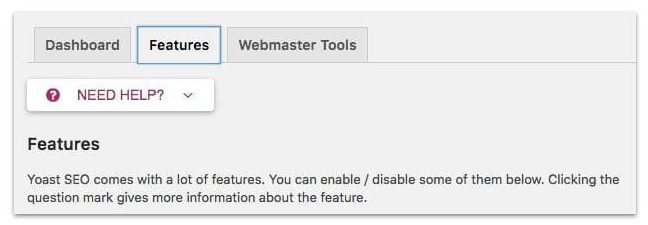
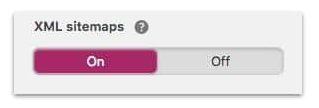
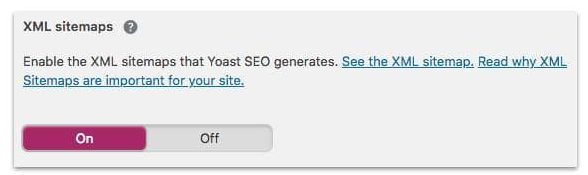
C. Scroll down to XML sitemaps and click to toggle sitemaps on. Scroll to the bottom and click Save Changes.
3. View your sitemap
A. Follow the instructions above to navigate to the sitemaps area (SEO > General > Features). Once there, scroll down to XML sitemaps and click the question mark to the right. There, you’ll find a link to ‘See the XML sitemap.’
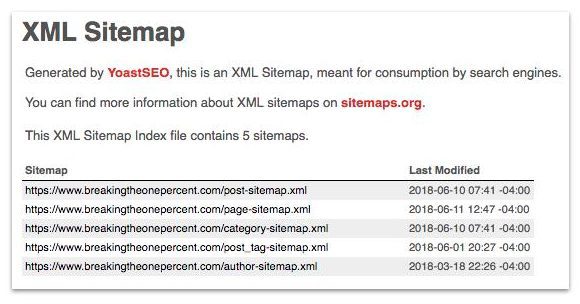
B. Your sitemap should look something like this:
4. Edit your sitemap
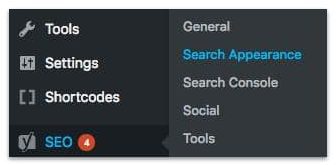
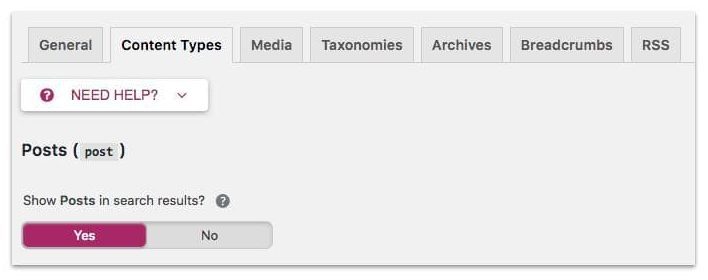
A. From your WordPress Dashboard, head to SEO > Search Appearance.
B. Choose the content type from the top tags and toggle the on/off switch for the types of content you do not want to appear in search results. Any content you select not to appear in search results will also be removed from your sitemap.
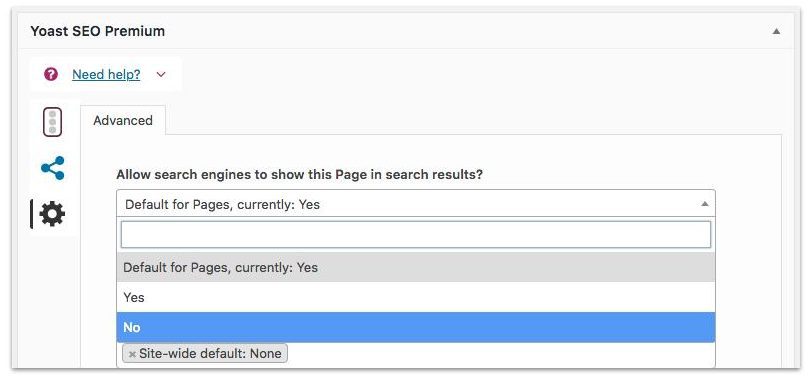
C. You can also exclude specific posts or pages from your sitemap. Go to the page you want to exclude and scroll down to the Yoast SEO area. Click the gear icon on the left of the box. On the drop-down menu for ‘Allow search engines to show this Page in search results?‘ select No. Don’t forget to save your changes.
Related: How We Made Over $17,500 Blogging Last Month
How to Validate a Sitemap
Once you’ve created your Sitemap using Yoast, you can actually “validate” that it’s working using an XML sitemap validator. A quick Google search returns dozens of validators, but to save you the time, you can simply use this Sitemap validator.
If it’s not working for you, or you want a second opinion, you can use the Google Search Console method we’re about to show you below.
How to Submit Your Sitemap to Search Engines
Once you’ve created your sitemap, the next step is to tell search engines about them so they can recrawl and index your site. Here’s a walkthrough of how to do that for Google and Bing.
1. How to Submit a Sitemap to Google
A. Sign in to Google Search Console and select your website. In the left navigation menu, go to Crawl > Sitemaps.

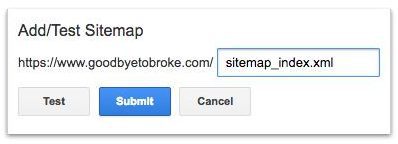
B. At the top of the screen, click Add/Test Sitemap.

C. Enter sitemap_index.xml in the box that appears (visit the URL to make sure that’s where your sitemap is located), then click Submit.
2. How to Submit a Sitemap to Bing
A. Sign in to Bing Webmaster Tools and select your site. On the left sidebar, navigate to Configure My Site > Sitemaps.
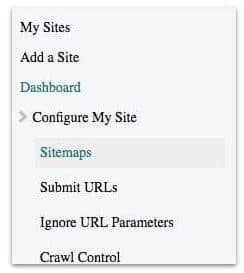
B. Enter your sitemap URL into the box and click Submit.

And that’s it! Assuming there are no errors with your sitemap, search engines should be able to easily move from page to page on your website and gather information about what each page is about.
Pro tip: Don’t forget to interlink your blog posts or website articles in a relevant, natural way.
By linking to similar articles, you allow readers to learn more about certain topics and provide a route for search engine crawlers to move seamlessly from page to page.


